It’s as easy as 1. Today we'll show you the basics of removing a fork from a bicycle. A daunting, but surprisingly simple process, learning this will allow you to perform more maintenance on your bike as well as pack it into our super stealthy bike cases. With a little bit of practice this will take you less than 5 minutes and will save you money every time you fly.
Orucase started as a way to combat the crazy fees associated with flying with a bike. With minimal additional work (just one additional step over a traditional case, hence the title), we were able to design a case that has saved us and our customers millions. No joke. Our best estimate is in the realm of $3.5 million excess baggage fees avoided in the last 2 years. For many, the savings are worth it for 5 minutes of extra work. For others, this step might be daunting despite the desire to save money on fees. Today we’ll break down how to remove the fork from your bike and reassemble it as well as better understanding how the headset, stem, fork, and frame work together.

Follow these instructions and you’ll be comfortable disassembling your headset in no time!
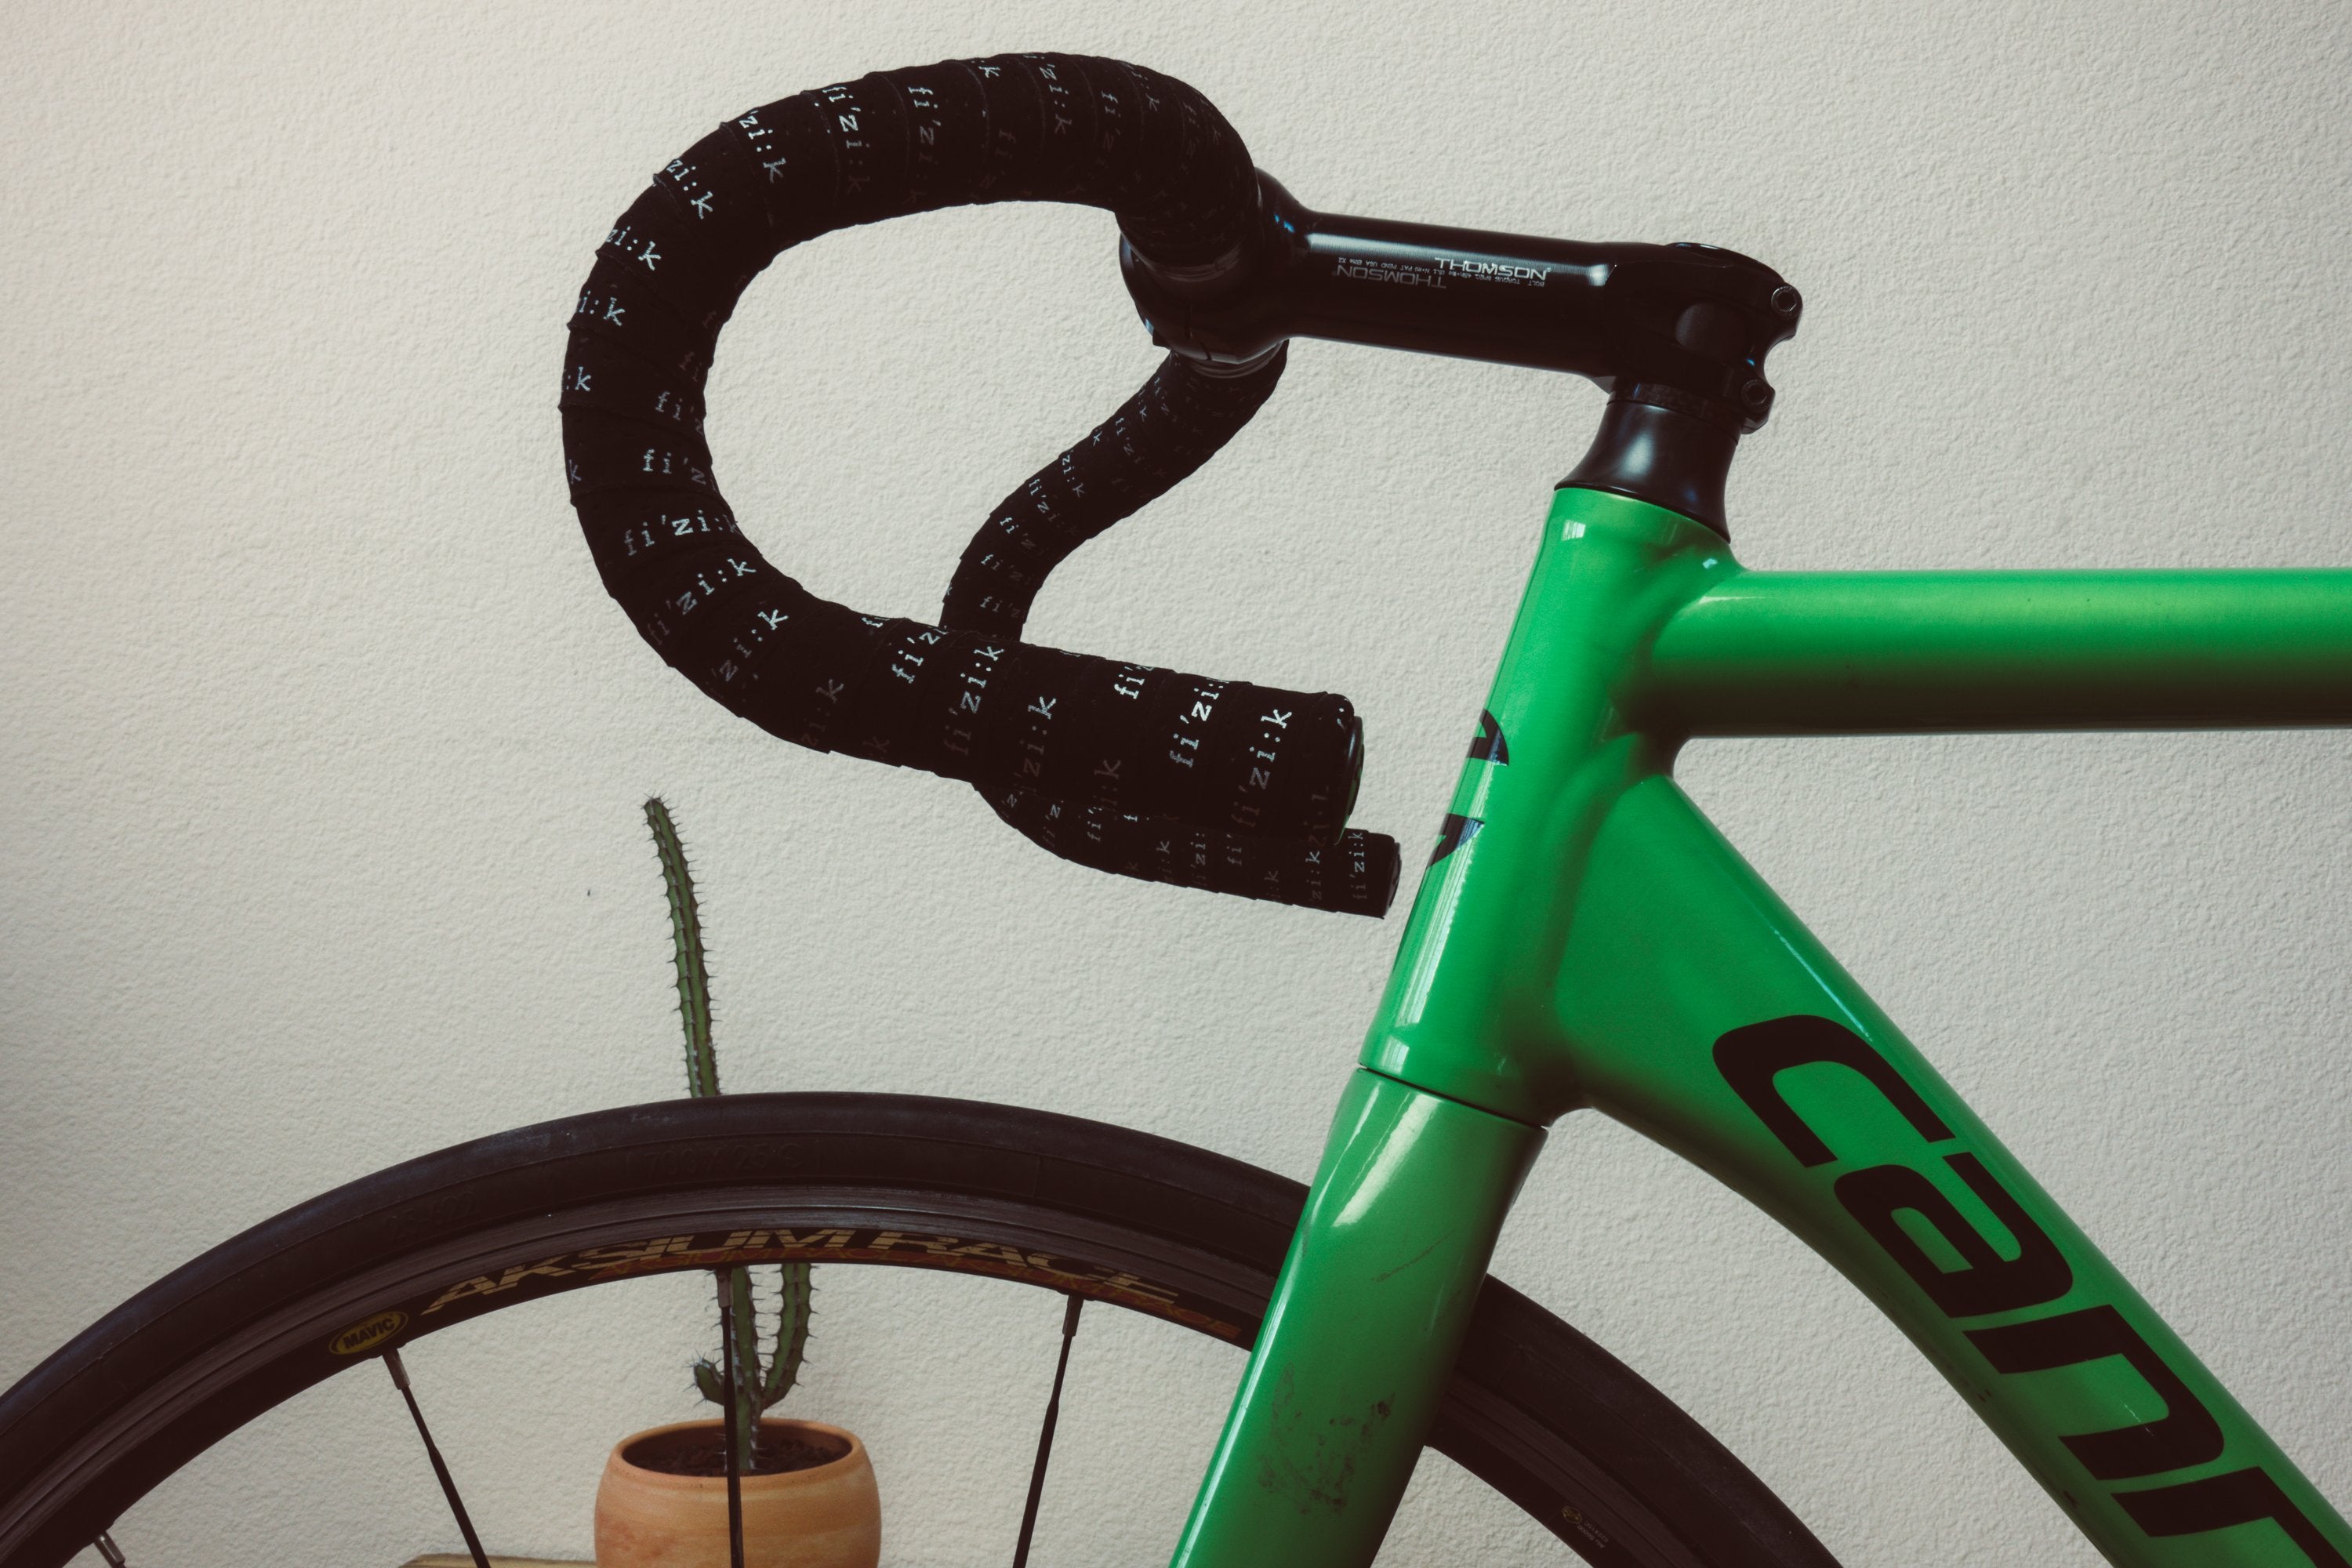
For the purpose of this blog we’ll be using a Cannondale CAAD10 track bike. The steps will be identical for almost all modern bikes, however the exact size tools needed (4, 5, 6mm hex wrenches) might differ. We’ll point this out where applicable as well as where you might find recommended torque settings. Although fear not if you don’t have a torque wrench, you can get by without one in a pinch, but be careful not to over tighten!
Part 1 - Disassembly
Step 1
Loosen Stem Bolts
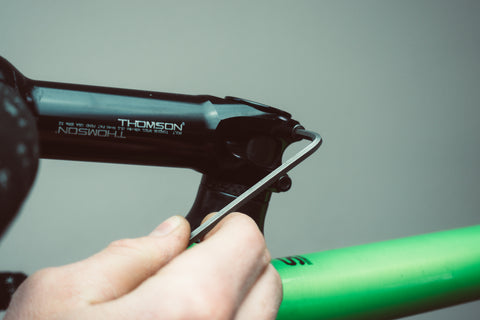
Begin by loosening your stem bolts. There are most commonly two, generally a 4mm hex head, although torx heads exist too. Once you’ve got the correct sized tool loosen the stem bolts by a half turn before alternating to the other. Alternating between the two is a good habit to get into as it creates a more uniform load (or release thereof).

Step 2
Loosen and Remove Top Cap
Now it’s time to move to the top cap. This is generally a 4 or 5mm hex head. Loosen and remove the top cap and bolt completely and place aside.


Step 3
Remove Stem, Spacers, and Headset Cover
Warning: Be careful with this step, once the stem, spacers, and headset cover are removed from the steerer tube the fork may slide out resulting in dropped parts. Keep a hand on the frame if using a tray work stand, and a hand on the fork if using a seat post clamped stand.
Because we loosened the stem bolts in step one, the stem/bar should slide off fairly easily. Continue by removing any spacers (be sure to keep them in the correct order to make assembly easier down the road), and finally remove the headset cover.


Step 4
Remove Fork From Frame
Next you’ll slide the fork out of the frame. Grab the upper bearing and compression ring which should still be sitting in the top of the head tube and place them on the fork steerer tube in the orientation they were installed (we’ll go over the specifics in part 2). Place the headset cover and spacers back on the steerer tube in the order you removed them. Finally re-install the top cap and tighten the top cap bolt.


Step 5
Pack Your Bike (If You’re Using An Airport Ninja or Sub62!)
Stop the stopwatch, and get ready to save on bike fees. With a little bit of practice the removal of the fork will take less than 5 minutes.
In Part 2 we’ll go through the steps of reassembling a bike with the fork and headset completely removed. We’ll talk about the specifics of the orientation of bearings and how to troubleshoot common problems.